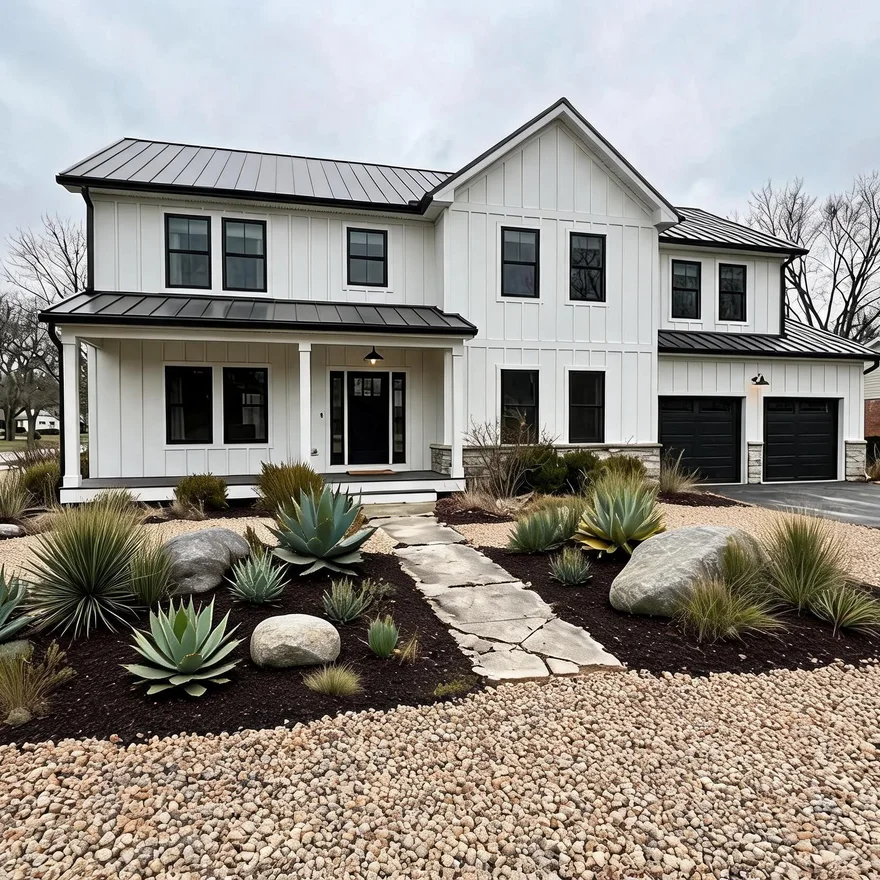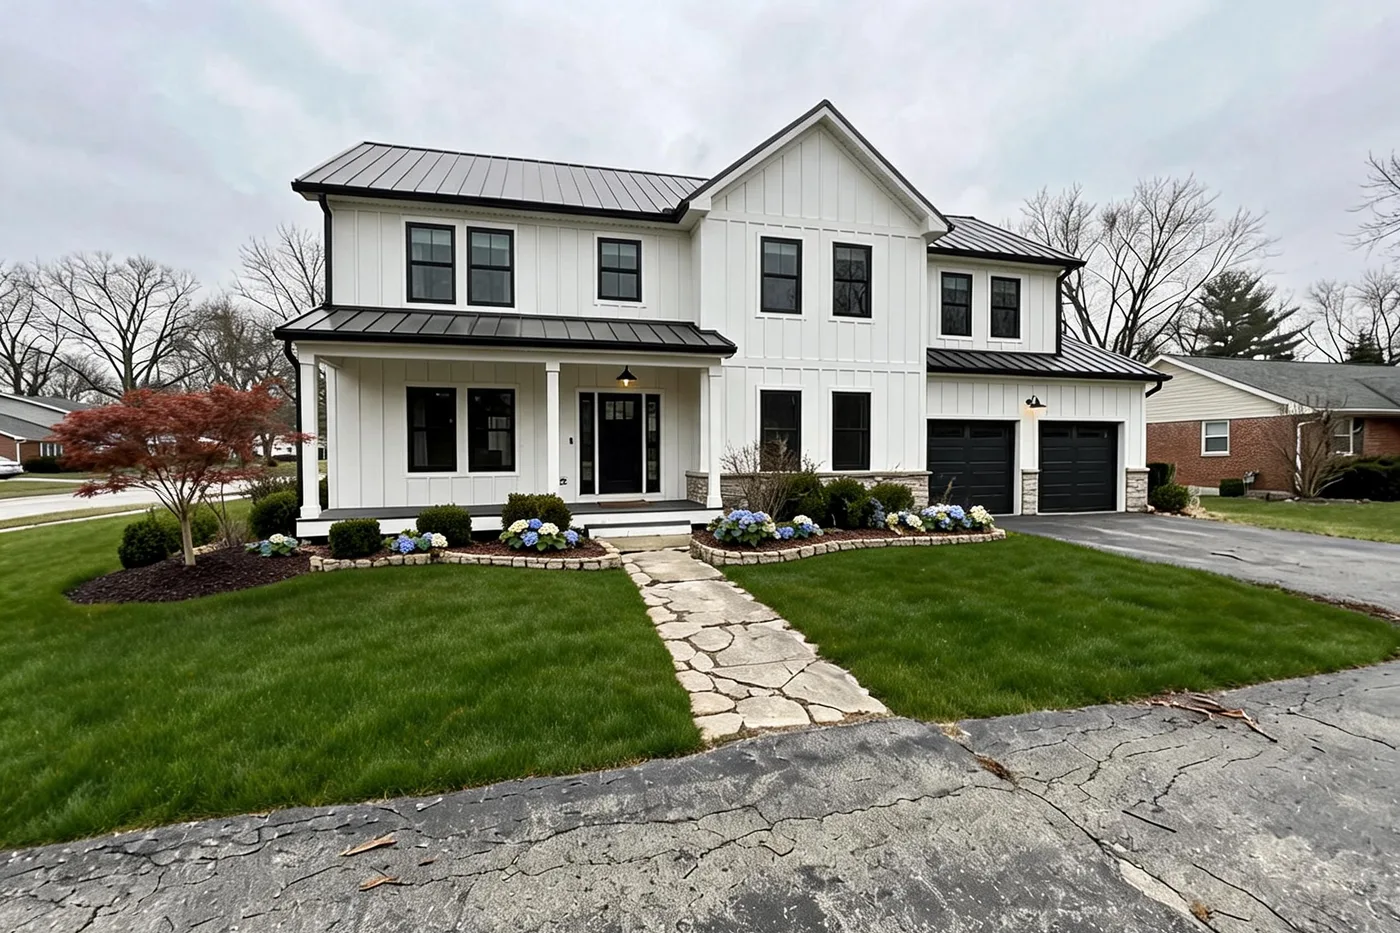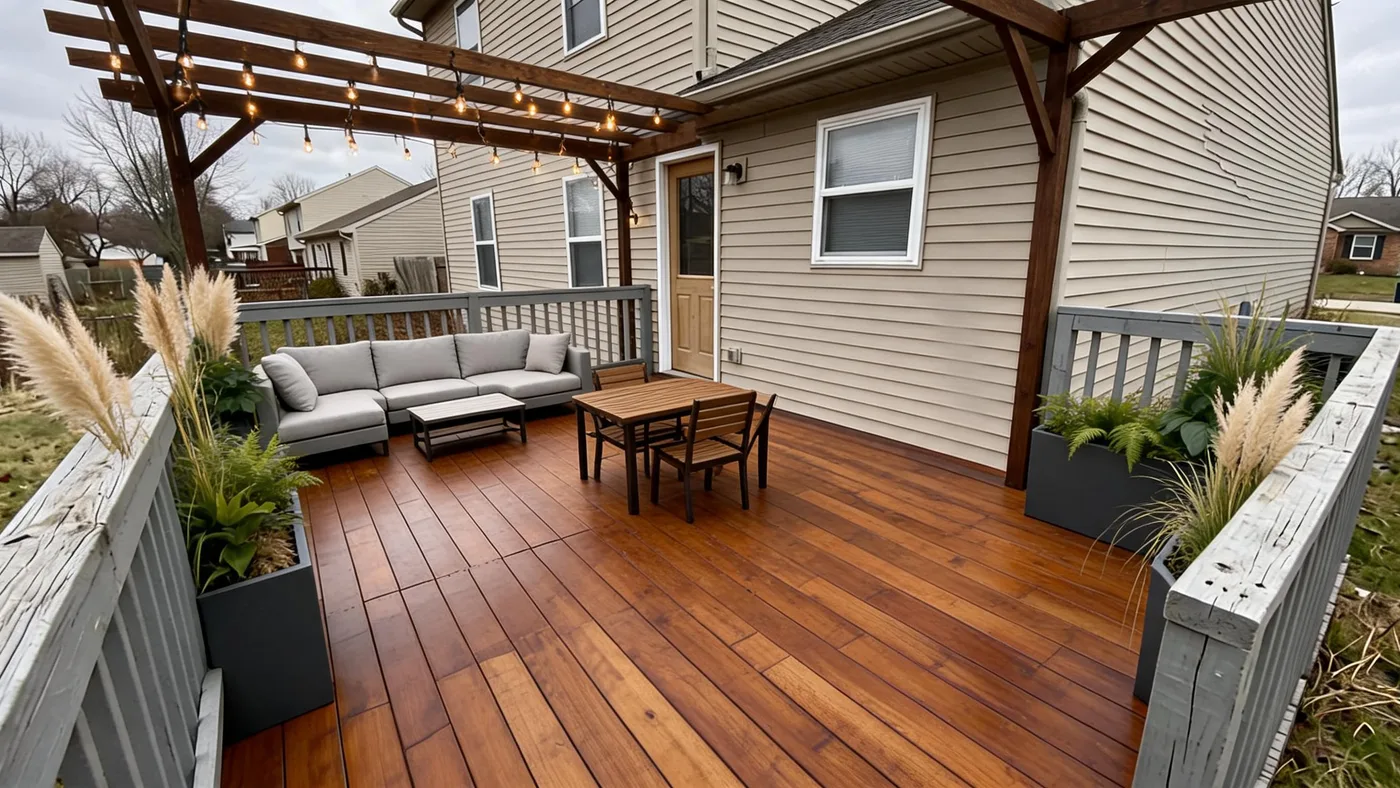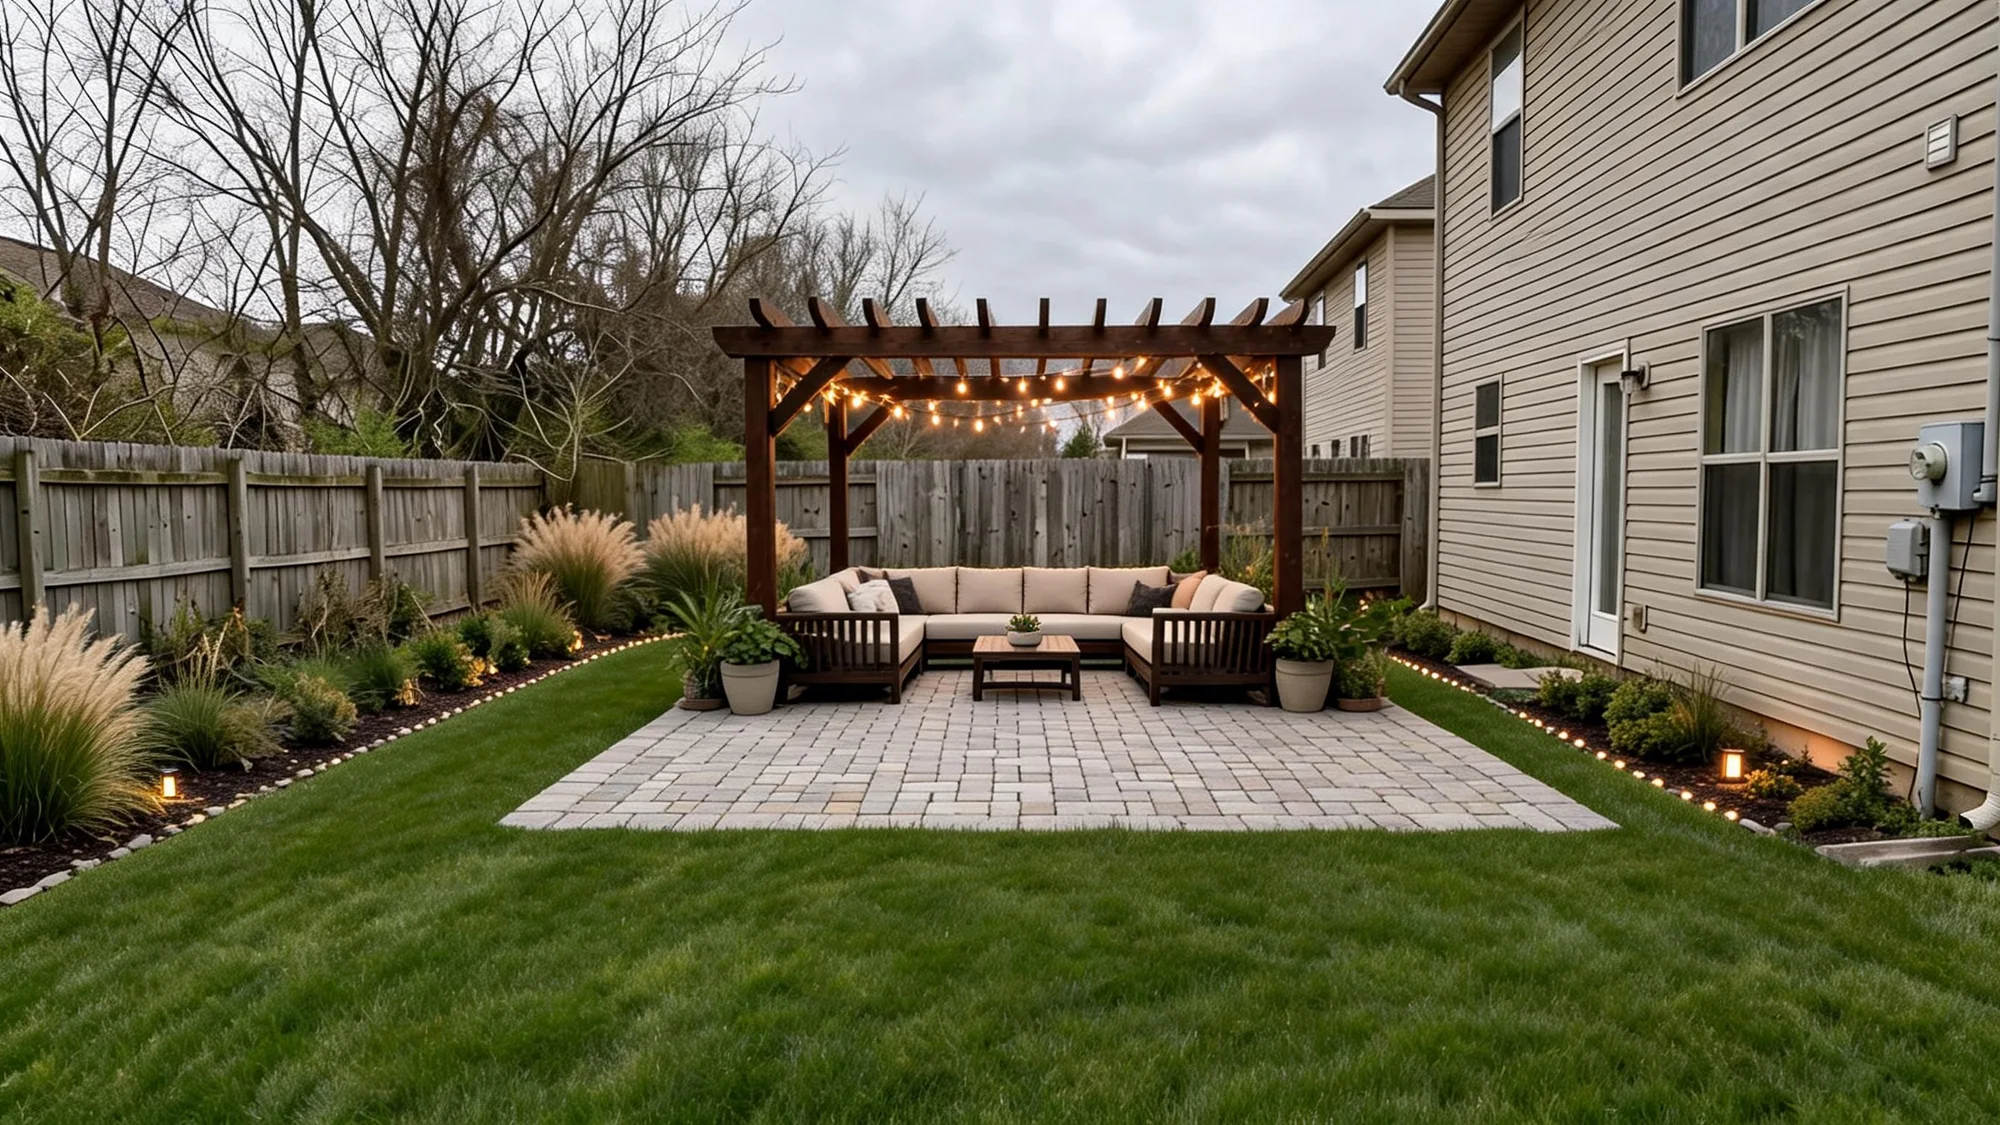
Front yards are mostly about how the house reads from the street. Backyards are different — they're the room you actually live in, and that means more decisions: where to sit, how much lawn to keep, whether the slope in the corner is a problem, what privacy actually requires. Below are twelve upgrades, organized by the real decisions a backyard forces, each with the criteria for whether it fits your yard — and a way to see it on your own space before you spend anything.
Where to start, based on your yard
Most "backyard ideas" lists read the same whether your yard is a flat quarter-acre or a shaded 15-foot strip behind a townhouse. Yours isn't generic — start with whichever row below actually describes it:
| If your backyard is... | Start with |
|---|---|
| Sloped, or water pools after rain | Step 3 (grading and drainage) — before anything else |
| Small or narrow | Step 11 (vertical and container elements) alongside step 1 |
| Mostly shaded by trees or a fence | Step 4 (layered planting) — skip a full-sun lawn push in step 5 |
| Overlooked by neighbors | Step 6 (privacy screening) |
| For a family with kids or dogs | Step 10, decided at the same time as step 1 |
| On a tight budget, or unsure where to start | Step 12 (sequencing) — read it first, not last |
1. Start with a zone plan, not a shopping list
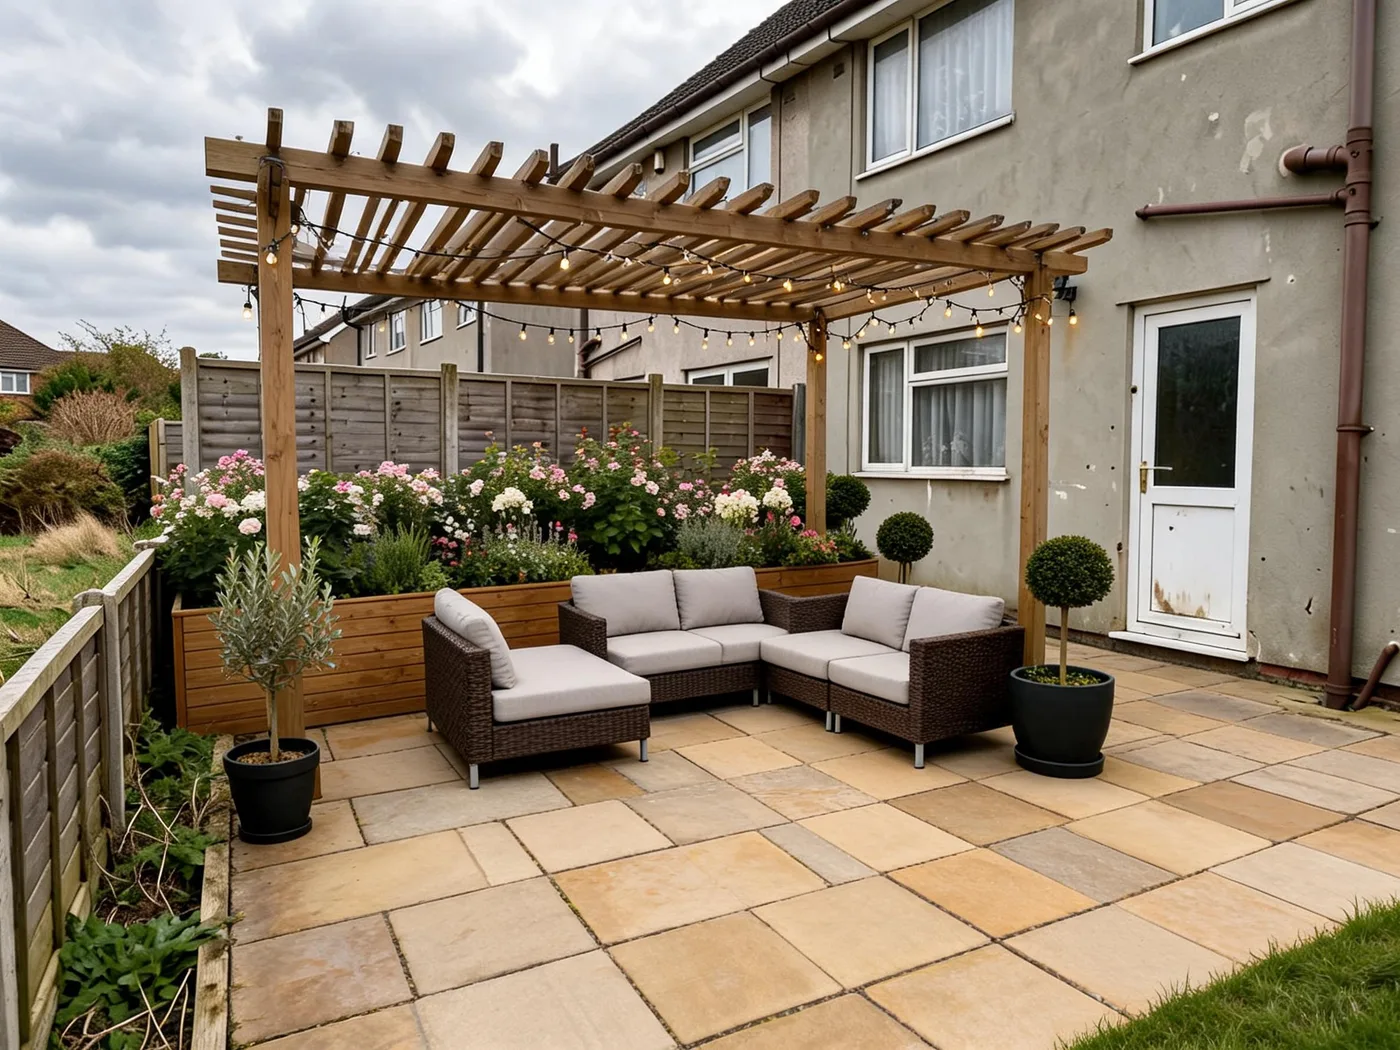
The backyards that end up feeling disjointed almost always skipped this step — someone added a patio, then a fire pit, then a garden bed, each decided on its own, and the yard ends up as a collection of features instead of a place. Before picking any single upgrade, sketch three or four zones: where you'll sit and eat, where kids or pets will actually play, where planting goes, and how you'll move between them. A yard doesn't need to be large for this — a 20-by-30-foot backyard can hold a dining zone, a lounge zone, and a planting border; it just can't hold five zones competing for the same corner. Decide the zones first, then pick the upgrades that fill them.
2. Choose your hardscape: paver patio, poured concrete, or a raised deck
This is usually the biggest single decision, both for cost and for how the whole yard functions.
| Option | Best for | Typical cost | Permit likely? | Trade-off |
|---|---|---|---|---|
| Paver patio | Flat, well-drained yards | $8–$24/sq ft installed | Often, regardless of material | Can be reset if ground shifts; higher upfront cost than concrete |
| Poured concrete | Flat yards, tighter budget | Lower than pavers per sq ft | Often | Cracks with ground movement; can't be spot-repaired |
| Raised deck | Sloped, uneven, or poorly draining yards | Varies with height and materials | Often exempt if small, low, and detached (commonly under ~200 sq ft and ~30" above grade — thresholds vary by city) | Steps over grading problems instead of fixing them; needs periodic staining or sealing |
Paver and concrete cost ranges are from the full cost breakdown. If your yard is flat and drains well, a patio usually wins on cost. If it slopes away from the house or the ground stays soft after rain, a deck is often the lower-total-cost choice once you account for what regrading would run — a deck sidesteps the grading problem rather than solving it, which is a legitimate trade when regrading a full yard would cost more than the deck itself. Permit rules vary by city, so confirm with your local building department before you build either — it's a five-minute call that avoids a five-figure redo.
3. Fix slope and drainage before anything else goes in the ground
This is the step every general "backyard ideas" list skips, and it's the one that determines whether everything else lasts. Water needs somewhere to go, and the standard target professionals build to is the ground falling away from the foundation — commonly cited as roughly 6 inches of drop over the first 10 feet. If your yard slopes toward the house, pools water after rain, or stays soggy for days, that's a grading or drainage problem to solve before you install a patio, plant a bed, or lay new sod — a beautiful bed built on bad drainage rots out in a season, and a patio poured on the wrong grade sends water into the foundation instead of away from it. A simple swale (a shallow, grassed channel that redirects water) or a French drain handles most residential cases; a persistent low spot or standing water near the foundation is worth a landscaper's opinion before you build anything on top of it.
4. Trade a flat lawn edge for layered planting beds
The same principle that works on a front yard works here: layer by height — small shrubs or perennials at the front, mid-height shrubs behind, and taller shrubs or small trees at the back or along the fence line — instead of a single row of identical plants against a flat lawn edge. Layered beds along the fence line do double duty: they soften a plain fence and start building privacy without a separate project. Curve the bed edge rather than running it dead straight along the fence — a slight curve reads as designed, a straight line along a straight fence reads as an afterthought.
5. Shrink the lawn with drought-tolerant, region-appropriate planting
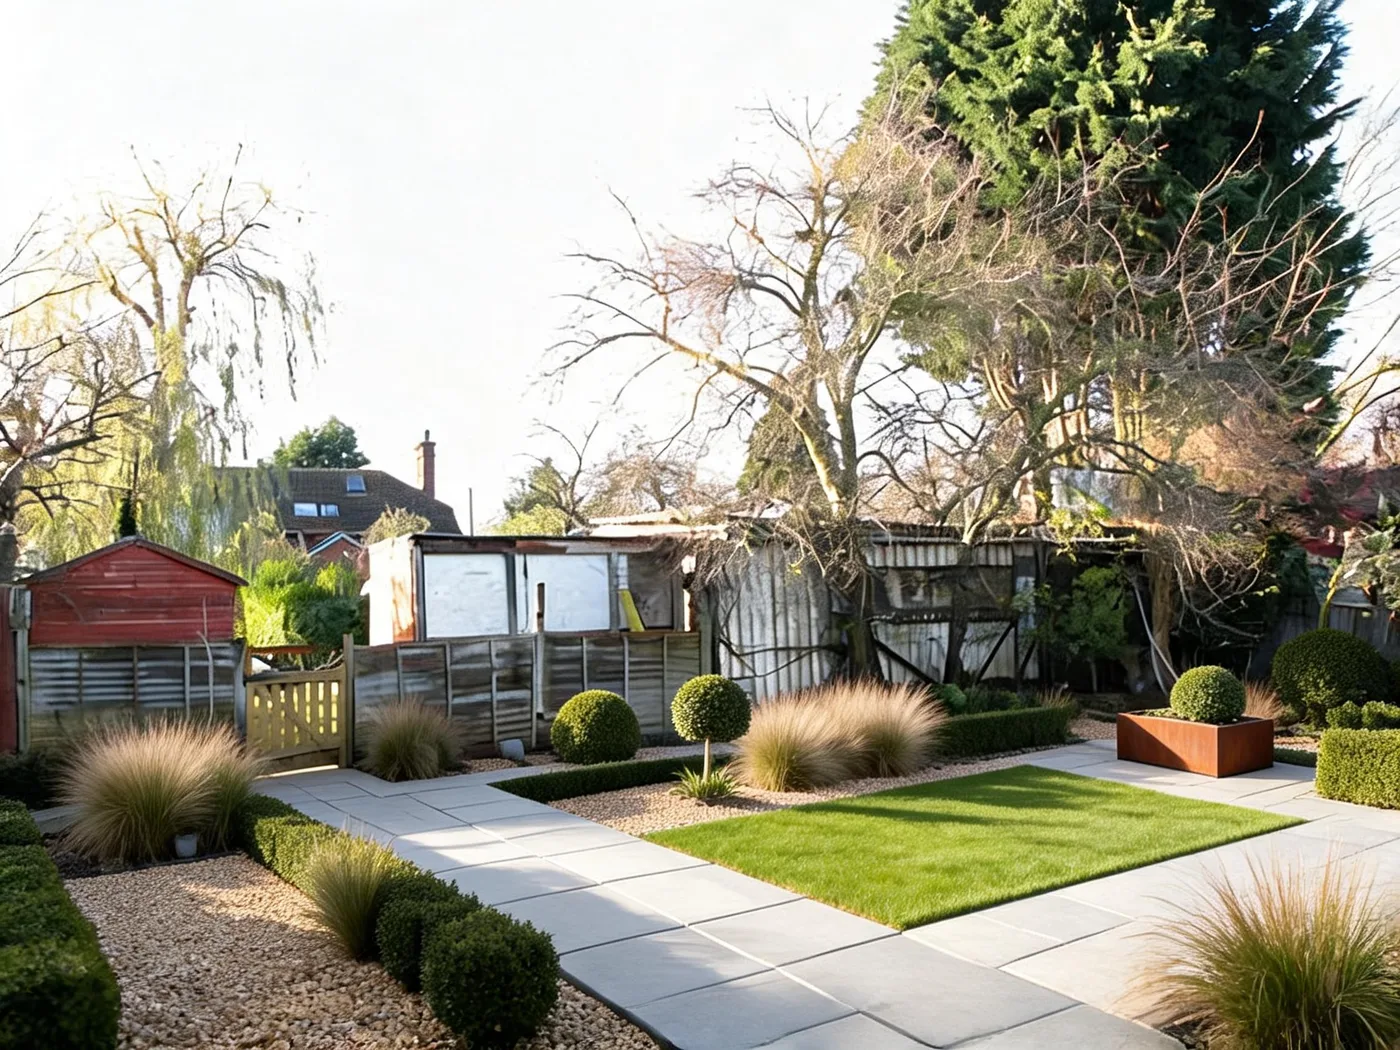
Nationally, outdoor watering accounts for about 30% of household water use — and in dry regions like the Southwest it can reach 60%, per the EPA's WaterSense program. A full lawn is the highest-maintenance, highest-water surface you can put in a backyard. Reducing it — not necessarily eliminating it — is the single biggest lever for lower water bills and less weekend mowing. Xeriscaping doesn't mean gravel and cactus everywhere; it means grouping plants by water need and choosing species suited to your USDA hardiness zone, so nothing on the bed is fighting the climate. A smaller, well-shaped lawn panel bordered by drought-tolerant shrubs and perennials usually reads as more designed than a full lawn edge to edge — and it's worth previewing, since "low-maintenance" is exactly the kind of change that's hard to picture from a plant list alone.
6. Screen for privacy without building a fortress
A solid 6-foot privacy fence blocks sightlines completely, but it also walls the yard in and can make a small backyard feel smaller. Partial privacy — layered evergreen shrubs, a mix of hedge and open lattice, or a single well-placed screening tree — blocks the specific sightline that bothers you (a neighbor's upstairs window, a street-facing corner) without boxing in the whole space, and it softens with growth instead of just sitting there. Reach for a solid fence when the exposure is total (a busy alley, a direct sightline into a bedroom); reach for planted screening when it's partial, since it does the job with more flexibility and, over a few seasons, looks better than a fence ever will.
Common screening choices: dense evergreens like arborvitae or holly for a year-round living wall, ornamental grasses for a softer, lower screen that still blocks a sitting sightline, or lattice with a climbing vine where you want light through but not a clear view. One caution worth knowing before you plant it: running bamboo spreads aggressively by underground rhizomes and is difficult to contain once established — if bamboo's fast growth is the appeal, use a clumping variety or keep it in large, buried containers rather than planting it directly in the ground.
7. Anchor the space with a fire pit or fireplace
A fire pit is consistently the feature that turns a backyard from "nice to look at" into "where people actually gather after dark." Cost varies a lot by type: a basic portable steel fire pit starts around $150, while a built-in, in-ground fire pit typically runs $1,000–$3,000 installed, and a sunken design with built-in seating can reach $3,000–$8,800, per HomeGuide's 2026 data — gas versions add plumbing cost but skip the smoke and ember cleanup of wood-burning. Whichever you choose, keep it away from the house, fences, and low branches: most local codes require several feet of clearance from any structure, and it's worth checking yours before you build rather than after.
8. Light it for the hours after dinner
Most backyard use happens after the sun sets more than people plan for, and lighting is what makes that possible. A layered approach works better than one bright fixture: path lights along walkways for safety, uplighting on a specimen tree or the fence-line planting to add depth after dark, and warm string lights over the seating or dining zone for ambiance. Low-voltage LED systems keep running costs low and are largely DIY-installable, which makes lighting one of the better returns on a modest weekend project.
9. Pick one water feature or focal point — not five
The same discipline that works for front-yard curb appeal applies here: a single deliberate focal point — a small fountain, a fire feature, a specimen tree, a sculptural planter — gives the eye somewhere to land and makes the whole yard read as intentional. A tabletop fountain or small birdbath works even in a tight space; a pond or larger water feature needs real square footage and, often, filtration to stay from turning green. Pick one. A yard with five competing focal points reads as busy no matter how nice each individual piece is on its own.
10. Design around who actually uses the yard
A backyard for a family with young kids and a backyard for a couple who entertain look nothing alike, and the mismatch is where a lot of "finished" backyards fall short in practice. If kids will use the space, keep a clear sightline from the kitchen or main window to wherever they'll play, and skip plants with thorns, irritant sap, or known toxicity near ground level. If dogs are part of the yard, skip cocoa mulch (toxic to dogs) and be selective with mulch depth and edging near paths, since digging tends to happen right where the ground looks most disturbed. For a couple who host, the dining and lounge zones from step 1 matter more than open lawn. None of this is about buying different products — it's about deciding the zones in step 1 with the real users in mind before you plant or build anything.
11. Go vertical and container-based if the yard is small
A small backyard runs out of floor space fast, but not out of options. Vertical planting — trellised vines, wall-mounted planters, tiered shelving for pots — adds greenery without eating patio space. Large containers (16 inches or wider; smaller pots visually disappear outdoors) let you group plants for impact and rearrange the layout without redoing beds. And in a small yard, restraint matters more than in a large one: a few well-placed elements with breathing room around them read as designed; the same elements crammed in read as cluttered. If the yard is genuinely tight, plan hardscape and lounge space first — planting can always be added in containers later, but a patio poured too small can't easily grow.
Mistakes that undo a good backyard plan
A handful of avoidable mistakes account for most backyard projects that don't age well:
- Building hardscape before fixing drainage. Covered in step 3, but it's the single most common and most expensive mistake to reverse — a patio poured on bad grading has to come back up.
- Planting mature-size shrubs too close together. A shrub labeled for a 6-foot spread needs that spread at maturity, not at planting. Crowded beds look full for a year or two, then turn into a maintenance problem as everything competes.
- Choosing plants for the picture, not the climate. A plant that isn't suited to your USDA hardiness zone or your yard's actual sun exposure struggles no matter how well it's placed — check the tag, not just the photo.
- Skipping the zone plan and adding features one at a time. Covered in step 1 — it's how yards end up as a collection of unrelated pieces instead of a place that works together.
- Sizing the lawn panel to what's easiest to mow, not what looks intentional. An oddly shaped leftover lawn patch reads as unfinished; a deliberately sized and edged panel — even a smaller one — reads as designed.
12. Sequence it — what to build first if you can't do it all
Almost no one does all twelve of these in one season, and trying to is how backyard projects stall out half-finished. A workable order, roughly by dependency and return:
- Grading and drainage (step 3) — always first; everything else is built on top of it.
- Hardscape (step 2) — patio or deck, since planting and lighting are placed around it, not the other way around.
- Structural planting — the layered beds and privacy screening (steps 4, 6), which take a season or two to fill in, so the earlier they're in the ground the better.
- Lawn reduction and drought-tolerant planting (step 5) — pairs naturally with step 3.
- Fire pit, lighting, focal point (steps 7–9) — the features that make the space enjoyable once the bones are in.
- Everything else — vertical elements, containers, kid/pet-specific details — layered in as budget allows.
If money or time is tight, stop after grading, hardscape, and the first round of structural planting. That's a backyard that functions and looks intentional even half-finished — which a fire pit and string lights added to bad drainage and a flat lawn edge never quite manage.
Whichever of these fits your yard, the fastest way to know is to see it. Upload one photo of your backyard and preview a redesign — the house, deck footprint, fence lines, and property boundaries stay exactly as they are; only the landscape changes.
Once you have a direction, what landscaping actually costs in 2026 breaks down the real numbers by project, and landscape designer vs DIY walks through when it's worth paying for a pro versus doing it yourself. If the front yard needs the same treatment, the curb appeal guide covers that side of the house.